Video Infographic : PowerPoint Infographics: Creating the Masking Effects (2/3)
Video
Description
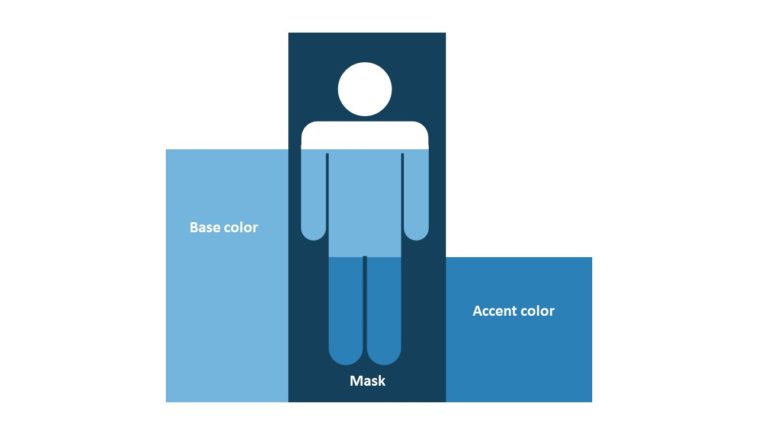
Now that you have your collection of editable vector shapes, it’s time to combine those images into one graphic to create the masking or stencil effect. To combine the shapes, you’ll work with the Merge (Combine) Shapes tool introduced in PowerPoint 2010. You can learn more about Combine Shapes in this article.
NOTE: Before you begin, remember to duplicate your people graphic so you don’t lose the work you created in the previous step. I mention this in the video but it’s worth repeating.
Full Tutorial: